How it works
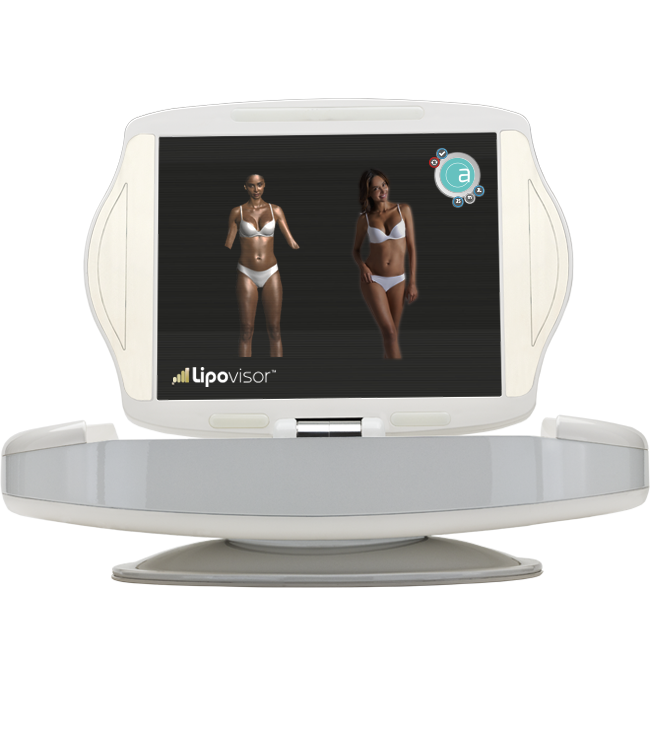
Medical device for detection of adipose tissue
with scanner for computerised liposuction
Outpatient mode consultation
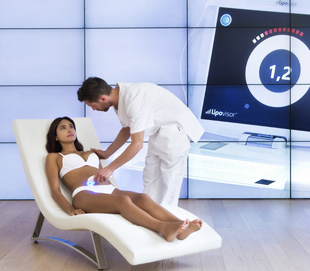
After entering the patient’s data, Lipovisor™ shows the Free Measurement page which allows the operator to freely measure the patient’s fat. Since at this stage the surgeon will make a simple measurement without any surgical intervention, Lipovisor™ provides only the measurement of fat thickness.
Pre surgery
consultation
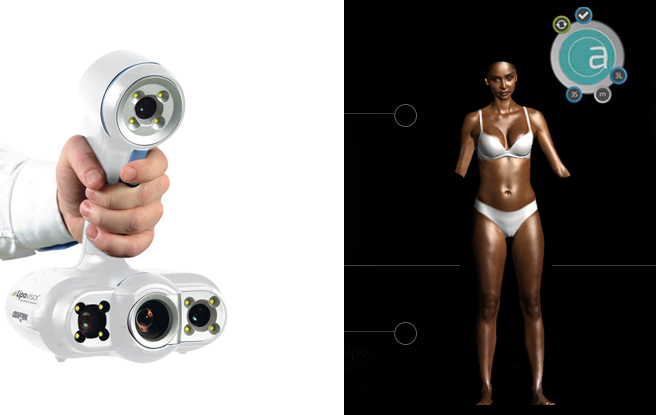
The first step consists of creating a three-dimensional model of the patient which is activated by pressing the 3S button. Lipovisor™ provides instructions for carrying out the process and the surgeon uses the 3S 3D-HD sensor to capture the 3D model. On completion of the caption procedure, Lipovisor™ screen displays the 3D model or silhouette of the patient.
On the patient’s three-dimensional model, the surgeon selects the areas to be scanned, identifying each of them by name. Each area is selected and scanned using the 3L 3D-HD sensor. As the area is scanned, it acquires a colour that varies according to the layer of fat underneath the skin. The amount and distribution of the fat are displayed on the screen.
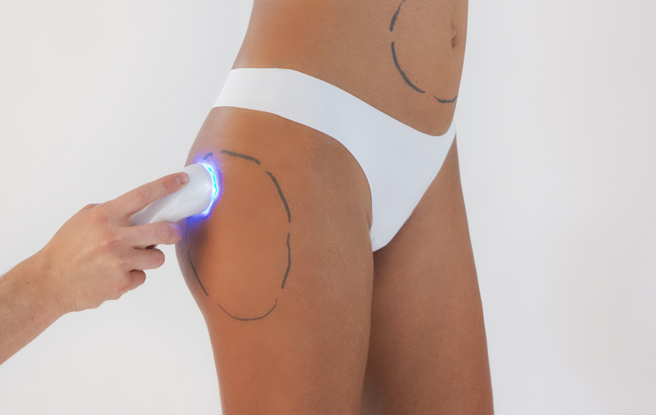
The amount and distribution
of the fat are displayed
on the screen.
Surgery
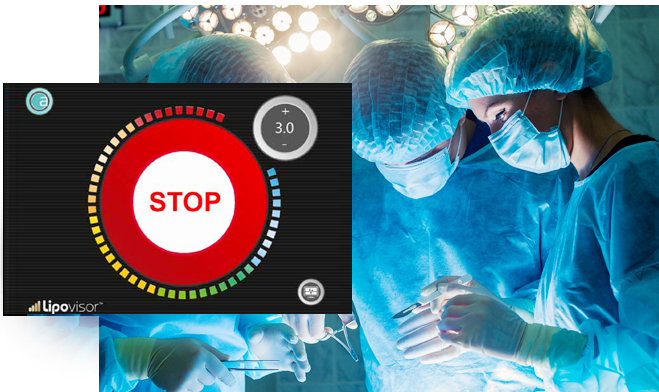
While working on a specific area, the surgeon can perform a lipo scan to check the fat in the area on which he is working. The scan can be repeated as many times as required, by pressing the 3L button. The area to be scanned, which has already been specified in the pre-consultation, is displayed in grey on the main viewer. Lipovisor™ indicates in grey the area to be scanned, along with a pointer which shows where the surgeon must position the sensor.
Surgery post
The post-surgery consultation enables the surgeon to perform a new 3D scan of the patient and to compare it with the one carried out prior to surgery. In this way, it is possible to highlight the main differences between the condition of the patient before and after surgery. Lipovisor™ displays the two models, thus highlighting the differences.
